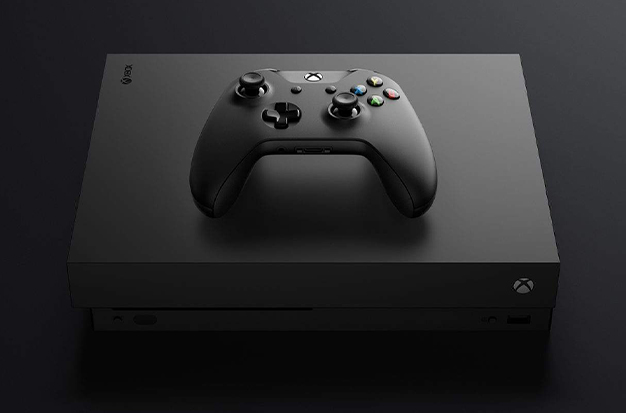
In order to take apart an Xbox One controller, you can follow the instructions in this article, taking into account any potential difficulties and the specialized tools you’ll need. Although Xbox One controllers are among the best available, they still malfunction occasionally.
Table of Contents
Why Take Apart An Xbox One Controller?
Usually, taking apart the controller is the next step if your Xbox One controller isn’t functioning properly after you’ve updated the firmware and performed some simple troubleshooting steps like checking the batteries.
Here are some fixes that call for disassembling your Xbox One controller, along with suggestions for what to do next after you’ve done so:
- Malfunctioning d-pad: For the spring assembly to push down more forcefully, carefully pry up the tabs. Replace if necessary.
- Drifting analog sticks: Analog stick units may need to be cleaned or changed as needed.
- Inoperable audio jack: Make sure the jack is seated properly and making contact, and replace it if necessary.
- Sticking buttons: After removing the circuit board assembly from the controller housing, use canned air and other techniques to clear away debris and other buildup.
What Need To Take Apart Your Xbox One Controller?
It’s more difficult than opening an old radio to open an Xbox One controller. Standard screwdrivers won’t work to open up an Xbox One controller. Instead, a Torx screwdriver is required. However, that’s not all you need:
- Torx screwdriver (T8 or T9, depending on controller model)
- Flathead screwdriver
- Plastic prying tools (guitar plectrum/pick is a good substitute)
- Plastic spudger or disposable knife
Don’t have all the tools required to open up the interior of your Xbox One controller? Do not fret—a number of Xbox One controller tool kits are available to purchase online.
How To Take Apart An Xbox One Controller?
Prior to disassembling your Xbox One controller, locate a well-lit workspace that is tidy and free of clutter. If you don’t already have them, you should also acquire the following tools:
- T-8 safety Torx
- Prying tool
It must be a T-8 safety Torx, but you can also use a Torx bit in a driver, a socket wrench, or a special Torx driver. A safety Torx has a small hole in the tip that serves as a telltale sign that it is different from a regular Torx. The Xbox One controller screws cannot accommodate a regular T-8 Torx without this tiny hole.
You can make a prying tool out of anything as long as it is thin enough to fit between the controller housing and the end covers. If at all possible, use a plastic tool to avoid scratching the controller’s housing.
How to disassemble your Xbox One controller is as follows:
- To gently separate the right or left grip cover, use a prying instrument.
- You can finish carefully removing the covers by hand after they begin to separate.
- Use the other grip cover and repeat the process.
- Dispatch the battery cover.
- If your controller has never been disassembled, the sticker inside the battery compartment will be in good condition. For access to the concealed screw, you will need to cut or push through the sticker with a Torx bit.
- The hidden screw inside the battery compartment should be the first one to be removed once you are ready to remove the screws. Use a T-8 safety Torx bit, and take care to evenly distribute pressure and seat the bit to prevent stripping the screw.
- One of the screws from one of the grips should be removed using the same Torx bit or driver.
- Using the same grip, remove the additional screw.
- The controller will disassemble after repeating the procedure on the other grip and removing the last two screws.
- You can now see the rumble motors, triggers, and a few extra screws, though you shouldn’t touch them unless you need to swap out specific parts on the circuit board. Flip the assembly over after removing it from the front case to gain access to the majority of the other parts.
- You can clean the buttons and analog sticks, take the analog sticks out, take the d-pad ring and d-pad out, and more from this perspective.
- When finished, simply carry out the previous steps in reverse to reassemble the controller. Reinstall the controller assembly in the front case, then the rear case, tighten all of the fight screws, and then replace the grip covers and battery cover.
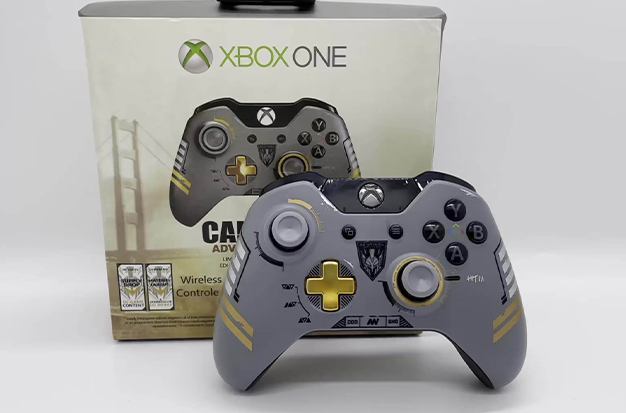
The Xbox One Or Xbox Series X/S Controller: How Do I Open It?
Please turn off your Xbox One controller before continuing. Place it on a table or other sturdy surface with the tools nearby for easy access.
To open the Xbox One controller, adhere to these steps.
- The battery compartment door should be removed and stored separately.
- Battery removal; save the batteries for later.
- Detach the plastic panels on the back of the controller’s “handles” where it rests in your hand by using the plectrum or spudger. It may take some time, so be patient as you gently unclip them by wiggling the plectrum along each edge.
- Remove the five Torx screws from the controller while it is lying flat. Two are on the left, two are on the right, and in the battery compartment, there is one more under the label. Save the screws in a safe place for later.
- Now, the back panel ought to just lift off.
- The primary controller can now be lifted out. Note that there are two printed circuit boards (PCBs) inside this secondary plastic case.
- If you’re planning on making any customizations, you can now replace the thumbsticks, D-pad, and other buttons.
Don’t continue if you are unfamiliar with PCBs and electrical components because further disassembly at this point requires some electronics knowledge.
The Xbox One Controller Was Opened: What Next?
Currently lying on your surface are the pieces of your Xbox One controller. What else can you do, though? Here are some options for moving forward.
Clean Your Xbox One Controller
Regardless of the situation, maintaining a clean controller is highly advised. Cleaning is crucial, from maintaining the responsiveness of the Xbox One controller buttons to taking hygiene precautions to manage infection control.
Microsoft advises using cotton swabs to clean hard-to-reach areas and isopropyl alcohol to remove dirt. The majority of the cleaning will take place close to the plastic parts. To gather any loose dirt that lands out of reach, use a small vacuum cleaner made for electronics.
Use antiseptic wipes after reassembly to reduce the risk of infection.
Repair The Xbox One Controller Thumbstick
As soon as the Xbox One controller is opened, various repairs can be made. Thumbsticks can be fixed, and unresponsive buttons can often be checked (and frequently fixed with more cleaning).
Thumbsticks (joysticks) on the Xbox One controller are prone to coming loose. The majority of the time, this issue can be fixed by hot-gluing a thin metal pole, perhaps made from a thumbtack, into the thumbstick itself and inserting it into the analogue controller mounted on the circuit board.
Fully Teardown Your Xbox One Controller
Want to learn more about how your Xbox One controller functions? Think about a complete teardown, reducing the gadget to its bare PCBs. You could even go one step further and remove the buttons, thumbsticks, triggers, and other controls.
Be mindful that further disassembly will reveal electrical components. As a result, you will need to take safety measures to reduce the possibility of static electricity harming your controller.
On the left and right sides of the controller, there are four thin wires (a total of eight wires). In addition to the four wires that connect the two PCBs, there are two wires on each side for the rumble motor. It is possible to carefully de-solder these, but you really only need to do this if you’re disassembling the device to replace the components.
RELATED:Best Soldering Irons For Beginners
Four small screws must be removed in order to separate the PCBs from the interior plastic chassis.
But be careful when labeling and annotating the process; otherwise, you’ll get a controller that you can’t use!
Customize The Xbox One Controller
To add modifications (new LEDs, etc.), tearing down the device is also a great option.) to your However, more eye-catching alterations to your controller’s appearance can be made with a paint can and adhesion promoter.
Conclusion
Although it is permissible to disassemble an Xbox One controller, you must exercise caution when doing so. You can also clean the interior components, fix joystick problems, overcome controller drift issues, and paint by using the methods mentioned above. This article should be useful to you, we hope.

